Showing posts with label Gold. Show all posts

Sunday, November 16, 2014

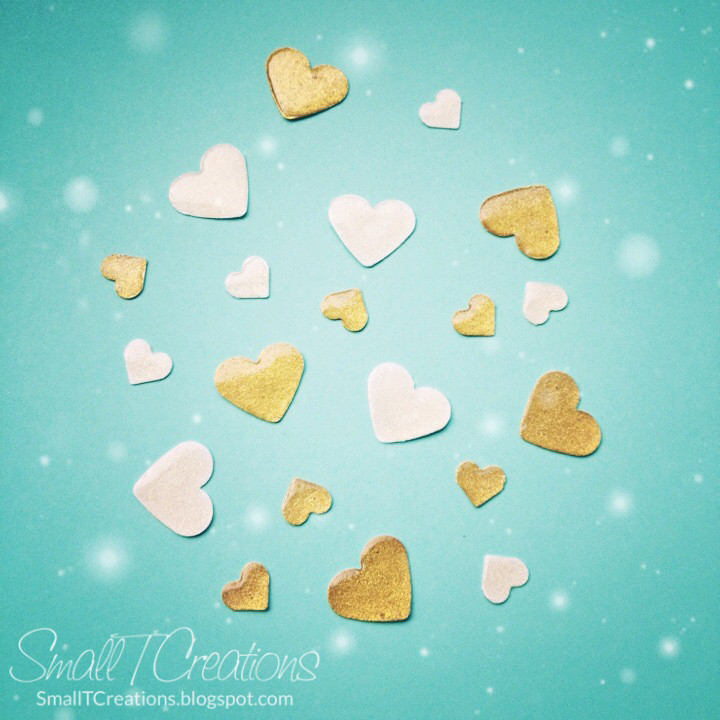
DIY Glitter Enamel Hearts | Tutorial

Hi there, I hope you're having a great weekend!

So here it is finally, my DIY Tutorial for the Glitter Enamel Hearts I used on this card. :-)

DIY Glitter Enamel Hearts Tutorial | Small T Creations

Step-by-step Tutorial
1. Punch out or die cut your hearts from white card stock. You can use this and this punch.
2. Color your hearts gold with this amazing gold ink. Use this very handy tool to pick up your little hearts.
3. Take a moment to admire your pretty golden hearts. :-)
4. Add some Wink of Stella for extra sparkle. You can skip this step, because the hearts turn out really beautiful with only the gold ink as well.
5. Apply a thick layer of Glossy Accents to make your hearts shiny and dimensional.
6. Wait for the Glossy Accents to dry. When the hearts are clear, they are done!

DIY Gold Glitter Enamel Hearts Tutorial | Small T Creations

White Glitter Enamel Hearts
To make white glitter enamel hearts, skip the gold ink and only add the Wink of Stella to your white hearts. Magic happens when Glossy Accents is applied over the Wink of Stella. The glitter and sparkle is so pretty!

DIY Glitter Enamel Hearts Tutorial | Small T Creations

I hope you enjoyed this tutorial, and that you try to make some glitter enamel hearts as well! :-) And if you do, I would love to see your projects, so leave me a link or tag me on social media.

Hugs,
Tone

Let's connect on Instagram, Facebook, Pinterest and Twitter.
Follow me via FeedlyBloglovin' or e-mail for all the latest updates.
Visit my Etsy shop HERE.


DIY Glitter Enamel Hearts Tutorial | Small T Creations

Monday, October 6, 2014

Gold Wedding Card

Hello crafty friends!

The gold wedding card that I mentioned in my Creative Blog Hop post is now finished. I think it's gorgeous, and it has five different gold elements!

Gold Wedding Card with DIY Glitter Enamel Hearts | Small T Creations

To make the gold background, I first used this gold spray on Papertrey Ink's Rustic Cream Cardstock and later stamped the flourishes from this Hero Arts stamp set in this gorgeous gold ink.

I used the same gold ink with this beautiful script background from Hero Arts to make the second layer.

Gold Wedding Card with DIY Glitter Enamel Hearts | Small T Creations

The sentiment is from Papertrey Ink (love that font!) and is heat embossed with this gold embossing powder. To frame the sentiment, I added a layer under it with gold glitter.

Lastly, I embellished the card with gold glitter enamel hearts that I made myself. My next post will be a tutorial on how you can make these hearts yourself, so stay tuned!

DIY Glitter Enamel Hearts Tutorial - Coming Soon! | Small T Creations
DIY Glitter Enamel Hearts Tutorial - Coming Soon

Thank you for joining me today!

Hugs,
Tone

Challenges: Simon Says Monday Challenge: Falling in love with (gold), Virginia's View Challenge #8: Clean & Simple, Ett Trykk Trykkpressa Oktober: Hjerter, Studio Calico WCMD Challenge #9: Gold

Let's connect on InstagramPinterestFacebook and Twitter.
Follow me via FeedlyBloglovin' or e-mail for all the latest updates.
   
Supplies
(I'm trying out a new way to list supplies. Hover over the image, and you can even click the tags.)

Monday, September 29, 2014

Creative Blog Hop

Hi everyone!

Today I am participating in the Creative Blog Hop. I was very honored when Leni of Between Paper and Nature asked me to continue the hop after her.

When reading Leni's post, I was so surprised to learn that we discovered stamps in exactly the same place! Just like Leni, I was hooked after visiting the Posthumus stamp shop. It's a lovely little shop, and if you ever visit Amsterdam, you should go by!
The shop is just a 5 minute walk down the street from where I used to work, so I have spent many of my lunch breaks browsing through stamps there. ;-)

My stamping and card making journey started in 2010. For my boyfriend's birthday that year I gave him a trip. As I didn't have a physical gift for him, I thought a very large card would be fun. Although I didn't use any stamps for that card, I did buy my first Hero Arts stamps at the Posthumus shop shortly afterwards. These were love themed, and you can see the first card I ever stamped here. Even though it's pink, it was for my boyfriend, and it's still hanging on our fridge today. :-)

Now, let's get on to the questions.

1. What am I working on now?
I've been working on an order for a wedding card where the request was lots of gold. I had so much fun making this card featuring five different gold elements.

Gold Wedding Card | Small T Creations

In the picture above you can see some gold glitter enamel hearts. I'm working on a tutorial on how you can make these yourself and will be sharing this with you soon as well.

DIY Glitter Enamel Hearts Tutorial - Coming Soon! | Small T Creations

2. How does my work differ from others?
I always use stamps. If possible, I want to stamp every element on my card. :-) Therefore I rarely use patterned paper.

Also, my style is quite clean. Often clean and simple. I can also have multiple layers or distress inking on my cards, yet I think they always have a clean look.

I just made this card* and showed it to my mom. Her response was: "This is SO you! I love it!" Hehe, so I guess this card shows my style quite well.

Clean & Simple Congratulations Card | Small T Creations

3. Why do I create what I do?
I just love stamping and making cards! Love it! :-) It really is my passion. And stamping is a way for me to relax and to express myself creatively.

My cards are my art. When I talk about my hobby, people often tell me that I light up. I love to create something beautiful, and I hope to spread the joy I felt while creating the card when I give it to someone else.

4. How does my creative process work?
When I have a specific person in mind for a card, I think of what that person likes and see if I have stamps and ink colors that fit. Very often I get ideas from the stamps themselves. And of course I get inspiration from Pinterest and other card makers. There's so much talent in the card making community, and I love seeing what you all make!

I love the creative process of designing the card, stamping, trying out new techniques etc, so my cards usually take quite a while to make. Typically, a card takes between one hour to a whole day to make. I put a lot of my heart and soul into each card.

Another reason why my cards take so long, is that I am quite meticulous. If something is one millimeter off, it bothers me.. ;-) But I have learned to (sometimes) say to myself that nobody else will ever notice and that I need to move on. It's good enough. It's not perfect (in my eyes), but good enough. Can you relate?

I also come up with card designs when I cannot sleep at night. It relaxes me.

Who's next?
I'm very happy and honored that Sarah of My Impressions will be following me up next week! She is a very talented lady, and you should definitely check out her blog.

I would also like to invite all of you to participate in the Creative Blog Hop. And if you do, please leave me a link to your post in the comments. I'd love to get to know you better!

Thank you so much for visiting today!

Love,
Tone

*I'm entering this card into the following challenges: Simon Says Monday Challenge: Finishing Tough, Simon Says Wednesday Challenge: Anything Goes and Addicted to Stamps Challenge #114: CAS
Stamps: Hero Arts Looped Flower Pattern and Hero Arts Say It All
Card stock: Simon Says Stamp Audrey Blue

Let's connect on InstagramPinterestFacebook and Twitter.
Follow me via FeedlyBloglovin' or e-mail for all the latest updates.
   

Wednesday, June 4, 2014

So Happy For You Baby Card

I really like to make cards with a specific person in mind, so when a friend of mine asked me to make a card for a friend of hers that is pregnant with a baby girl, I got inspired right away. This is the card I made for her, and I'm so happy with how it turned out! :-)


This is a larger card, so it was a little bit tricky to stamp the background. I think I had to stamp it three times to cover the whole card base. I stamped the Hero Arts Tiny Flags Background with Memento Luxe ink in Rose Bud and clear embossed it.

Then I stamped and clear embossed the baby images from my favorite baby stamp set, also from Hero Arts, on pink card stock. The gold embossed stars are from a great set from Mama Elephant.

The sentiment is from an old Hero Arts set, and is stamped in the same ink as the background on a label from a beautiful EK Success punch. Finally, I added some extra shine with a Studio Calico mist. Below you can see the embossing and the beautiful shine that the Studio Calico mist gives.


I also stamped the inside of the card and the envelope to match.

Make sure you check back on Friday, because I will be having a giveaway! Yeey! :-)

Love,
Tone

Challenge: Color Throwdown #295

Follow me via FeedlyBloglovin' or e-mail for all the latest updates.


Monday, May 19, 2014

Gold & Pink CAS Washi Tape Card

I've been on a real gold kick lately, and for my third card I'm using gold with a touch of pink to make this clean and simple birthday card.
[Card #1 Masculine Washi Tape Card and Card #2 Masculine Love Card with Washi Tape Hearts]

Small T Creations: Gold & Pink CAS Washi Tape Card. Washi tape from www.washitapes.nl #washitape #maskingtape

The sentiment is heat embossed in gold and the pink strip is vellum colored with a pink Copic marker. The sentiment comes from the Hero Arts Hooray set, which was part of a giveaway that I won on Janet's blog. Thank you so much, Janet! :-) You should really check out her blog, she's so talented, and right now she's been playing with washi tape as well!

To make the background I added strips of my favorite gold washi tape to the card base. I love how it turned out and how easy it was to create!

Small T Creations: Gold & Pink CAS Washi Tape Card. Washi tape from www.washitapes.nl #washitape #maskingtape

Which card is your favorite of the three?

If you have any questions about the cards or the supplies, please let me know in the comments.

Thank you so much for stopping by! :-)

Love,
Tone

Challenges: Gallery Idol Competition, A Blog Named Hero: #44: You're the (em) Boss

Supplies from my shop
Gold & Silver mt Washi Tape Set - 2 x 15 meters | WashiTapesNL www.washitapes.nl #washitape #maskingtape